
When he first heard about my printer, Tony Lock from Think3dPrint3D\Duet3D said something like “Blimey – you could print furniture on that !”, so I thought I’d give it a go.
Some time ago I bought a Diamond hot end with a 0.9mm nozzle (RepRap.me will make one if you ask) but I hadn’t used it much. I had also bought 3 rolls of Taulman T Glass for another project which didn’t get off the ground. The T Glass was about a year old and needed using up. So I decided to put the two together and print something big.
One thing about the Diamond hot end is that it has 3 (or 5 depending on version) longish melt chambers feeding into a single nozzle. When using a large diameter nozzle Taulman recommend using a print speed of around 10mm/sec but as I have 3 melt chambers, I thought I could push this up a bit. I did some experiments using 1.0mm layer width and 0.7mm layer height and found that I could easily get up to 30mm\sec and possibly higher. However, I didn’t want to push my luck so decided on using a speed of 20mm sec.
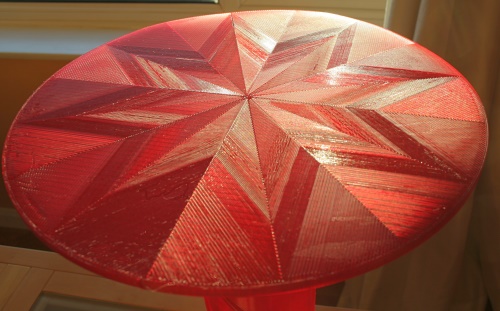
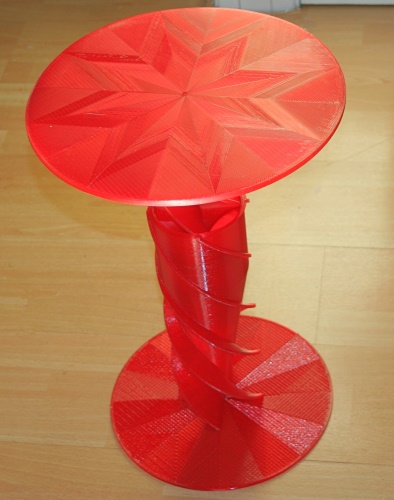
My build area is 360 x 360 x about 750mm so decided to design the table with a diameter of 340mm. 750mm is too high for a coffee table so decided to make it 500mm tall. I designed it in OpenScad (the only thing I know how to use). Normally, I set $fn to be 300 for large objects but realised that with a circumference of around 1068mm, each segment would be more than 3mm in length. So instead I used the variables $fa and $fs both set to 0.5 which would ensure that each segment is no greater than 0.5mm (the slicer overrides this in any case so segment size seems to be determined by the slicer – at least that’s how Slic3R seems to work). It took quote a while to render though.
You really need to watch the video to see how it went https://youtu.be/C4oljUKE6KM
As you’ll see it didn’t go according to plan. I had under estimated how much filament was left on each roll, and some time during the night, one of them ran out. I can only surmise that the consequent under extrusion caused some layers to become detached which then caused the print head to knock the top off but carry on printing into air. Anyway, I came up with a plan B to salvage what I could and it didn’t turn out too bad in the end.
I did learn a few lessons along the way, some of which only became apparent when I reviewed the video footage that I had taken.
Lesson 1 – always ensure there is enough filament on all the reels when you go to bed (or pause the print).
Lesson 2. It’s tempting to try and save filament on large objects by setting a low infill percentage. This is bad idea because with 20% rectilinear infill on a 340mm diameter circle, there is a lot of space between the lines. On subsequent infill layers at 90 degrees, the filament falls into these gaps and it takes a lot of solid layers to get a smooth surface again. Next time, I’ll use more infill and\or a different pattern.
Lesson 3. Always make sure your build area is set correctly in your slicer. Mine was a bit out so the skirt overhung the bed but luckily the main print just fitted.
Lesson 4. You can mix T Glass and Filaprint transparent PETG.
Anyway, you might find the video entertaining. Here is the link again -https://youtu.be/C4oljUKE6KM
